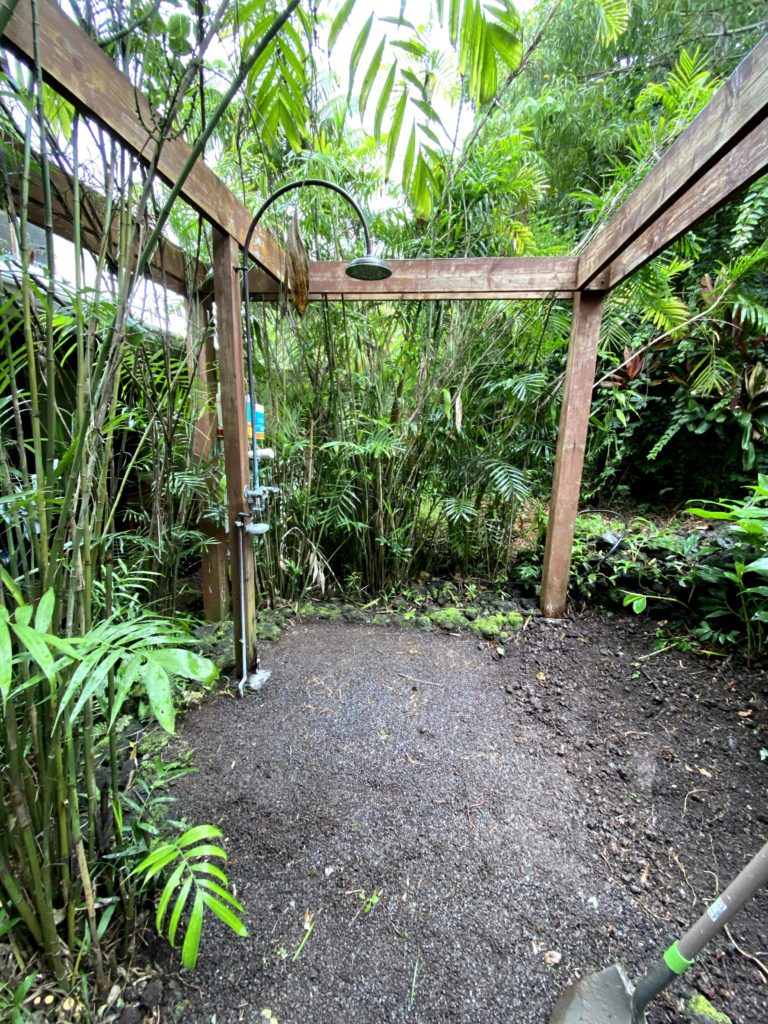
As we mentioned on Instagram a while back, we didn’t set out looking for a house that had an outdoor shower.
But now that we’ve been here for several months, we can now say that our outdoor shower is one of our favorite parts about the property. It’s used multiple times a day and prevents a lot of wet floors inside the house.
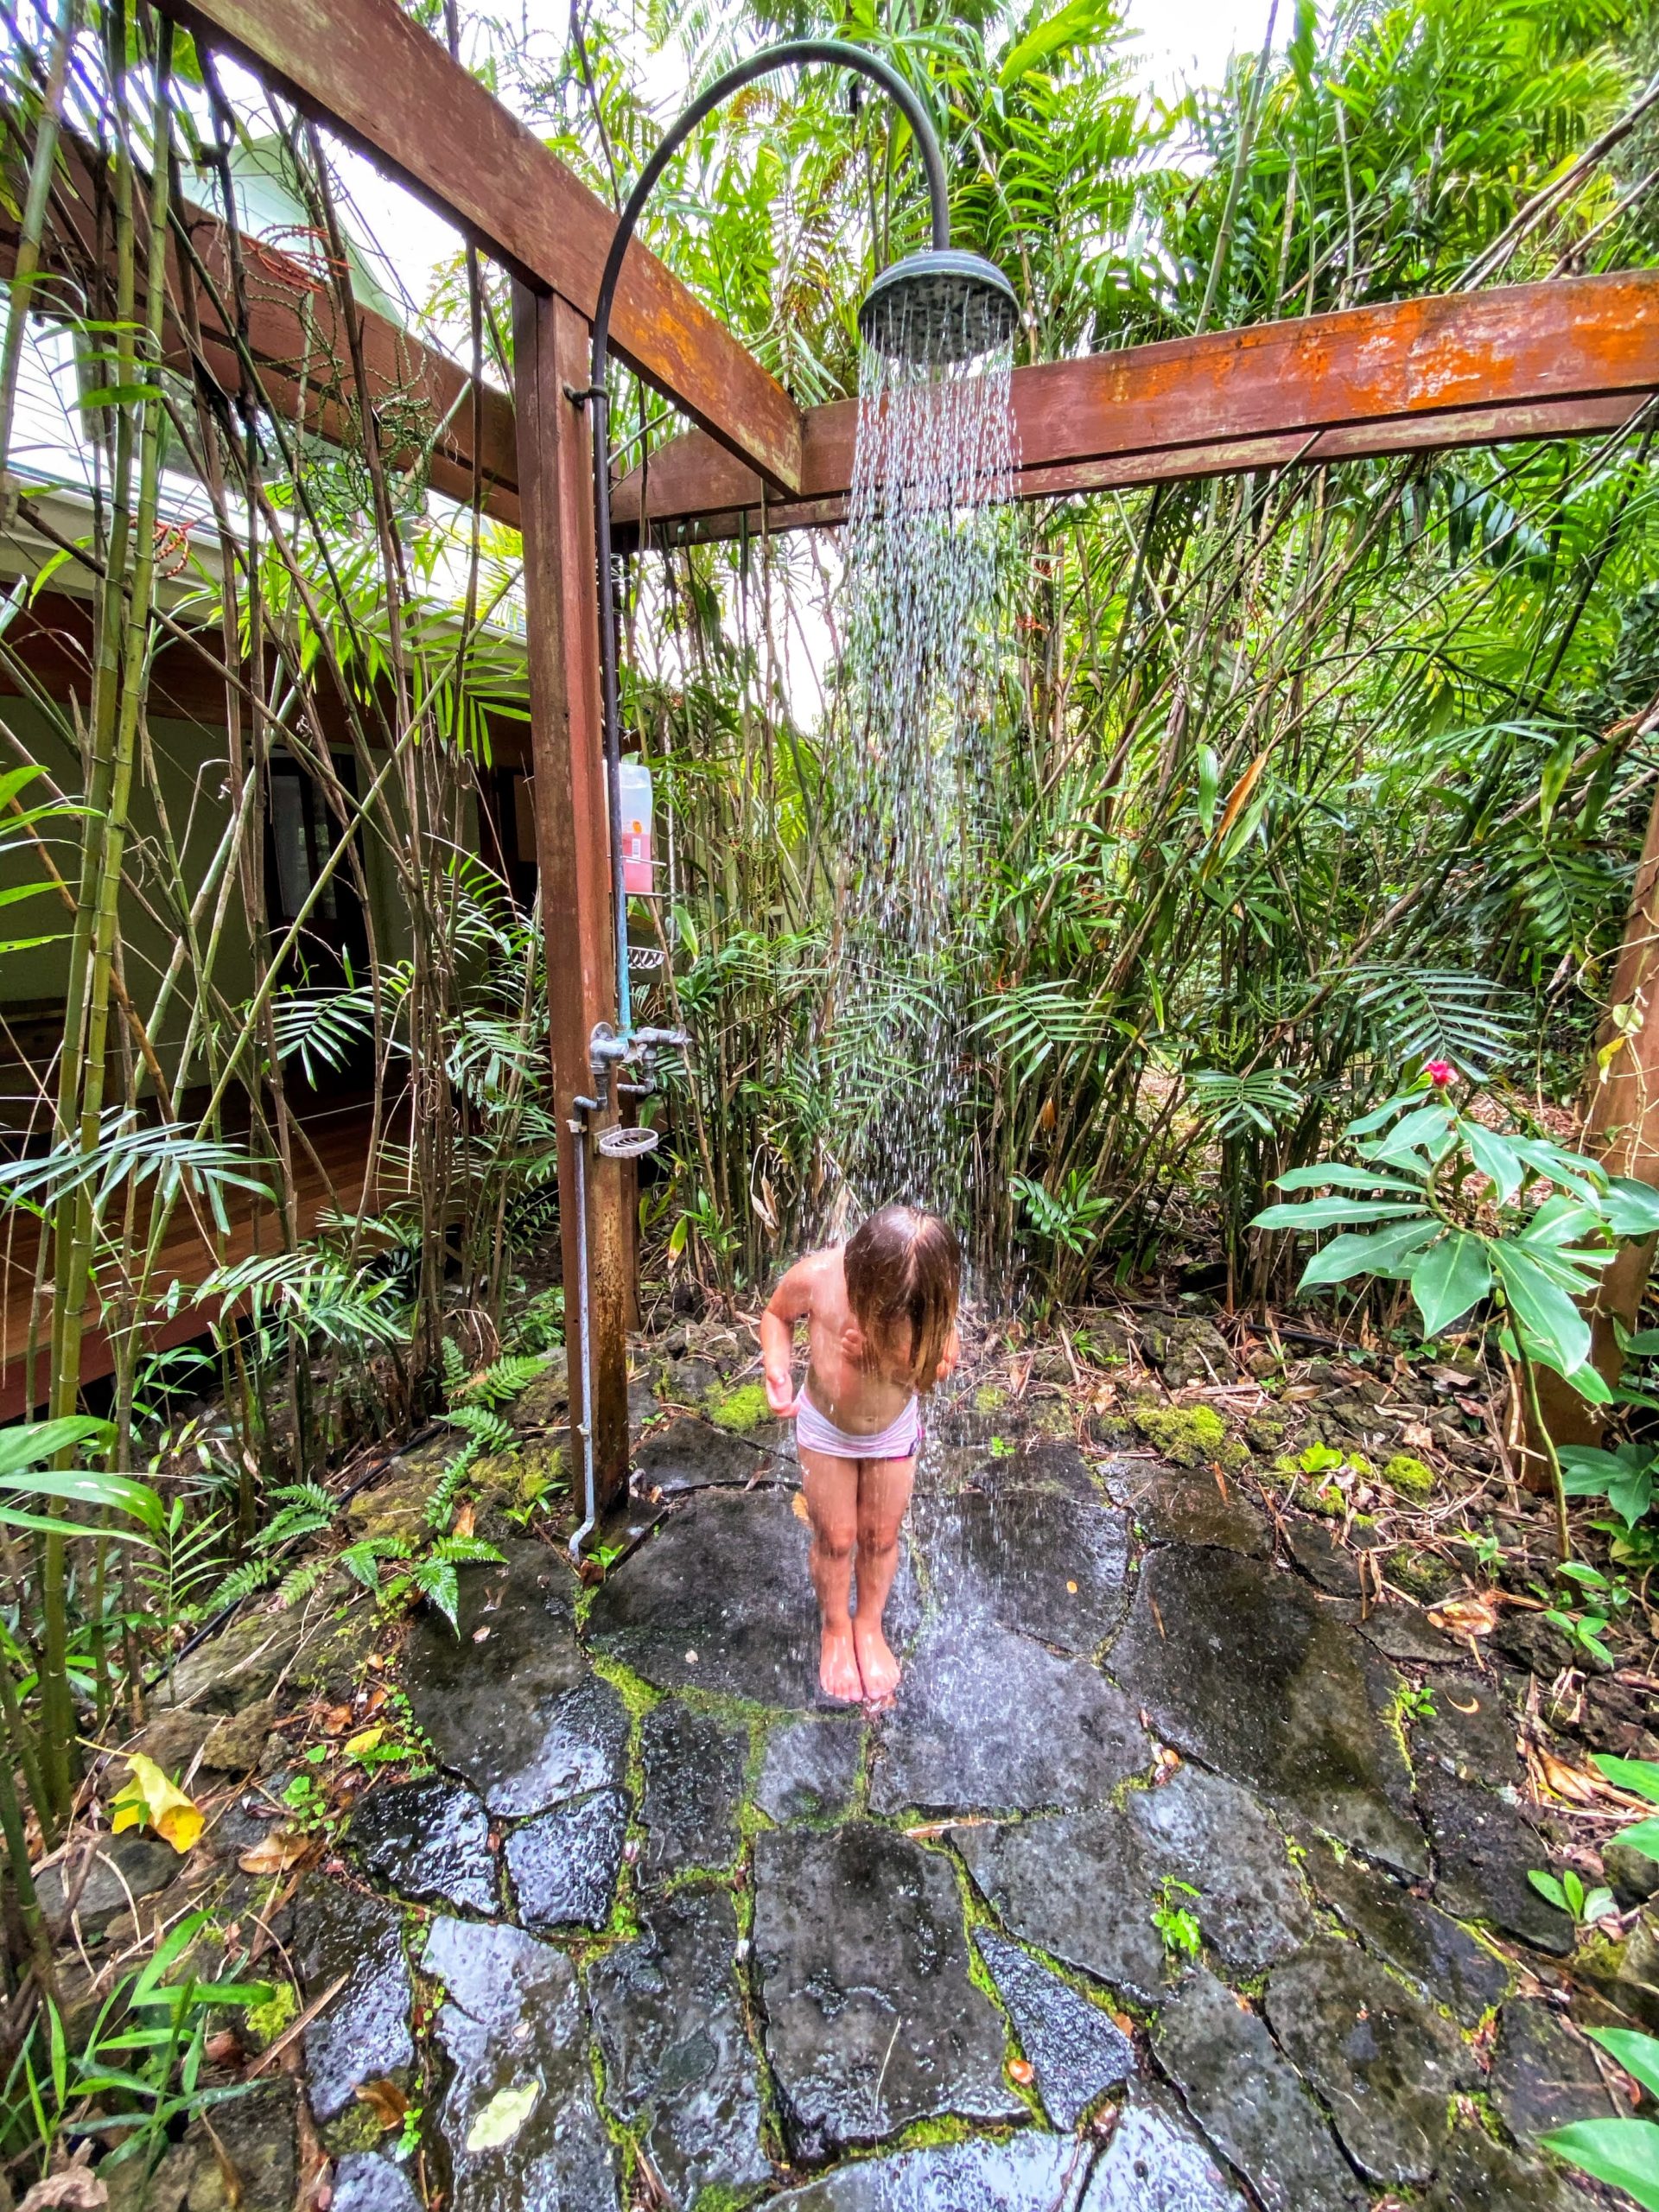
We loved the shower and the ambiance, but we wanted to give it a major makeover from top to bottom. This is how we did it.
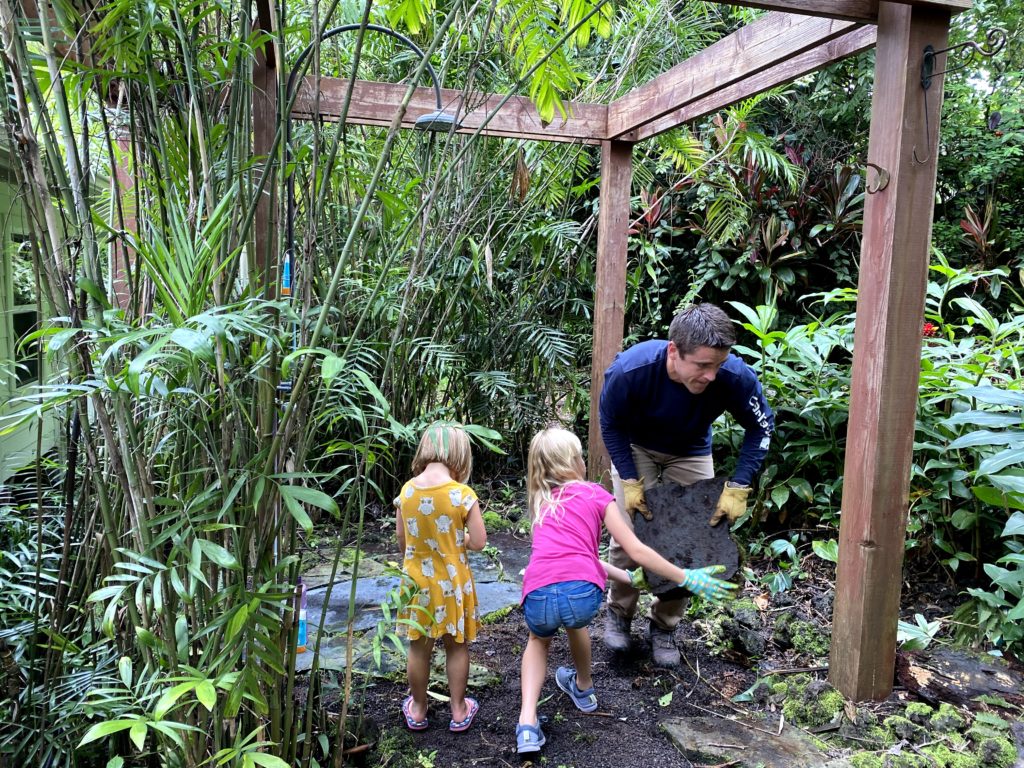
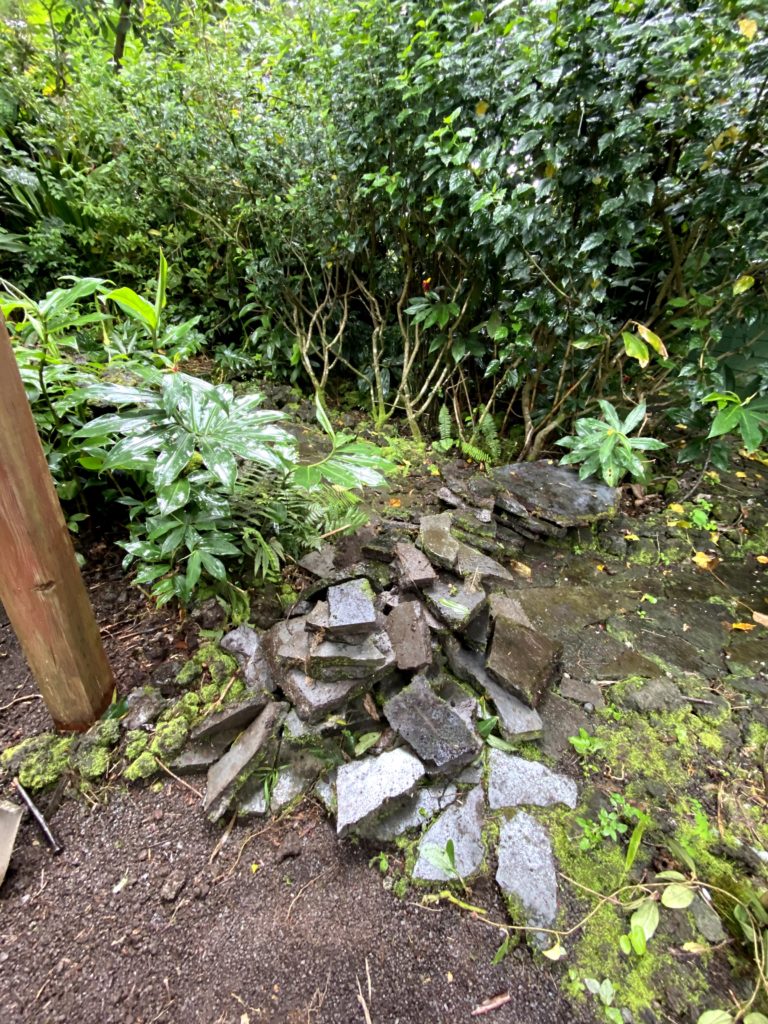
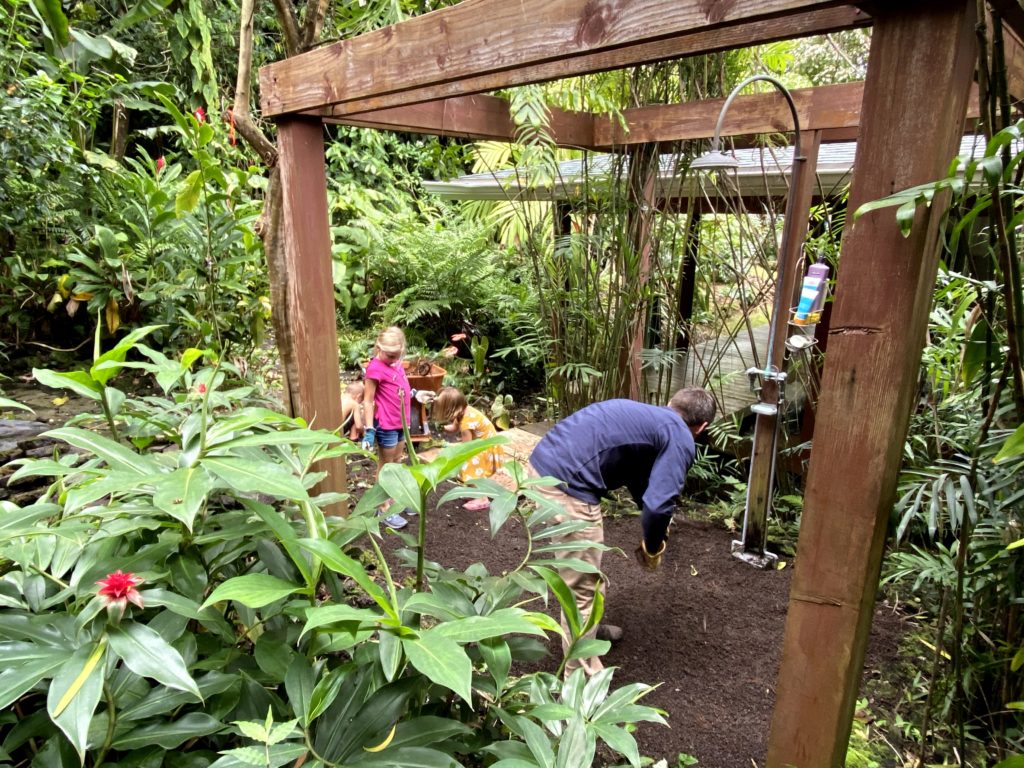
Removing the Pavers
First step was to remove all the old jagged, uneven pavers. We got rid of them as fast as possible. They weren’t very soft on the feet and they were covered in moss, making them really slipper–even with sandals.
The Bridge
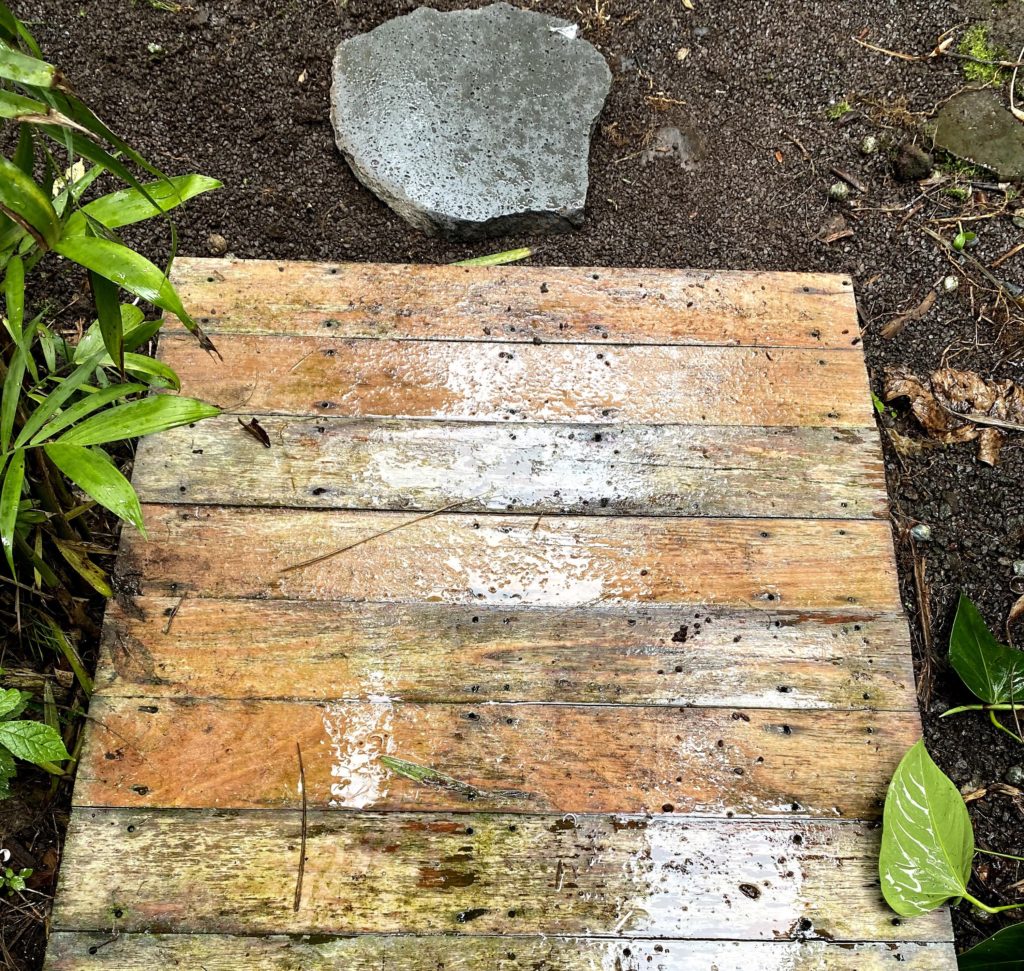
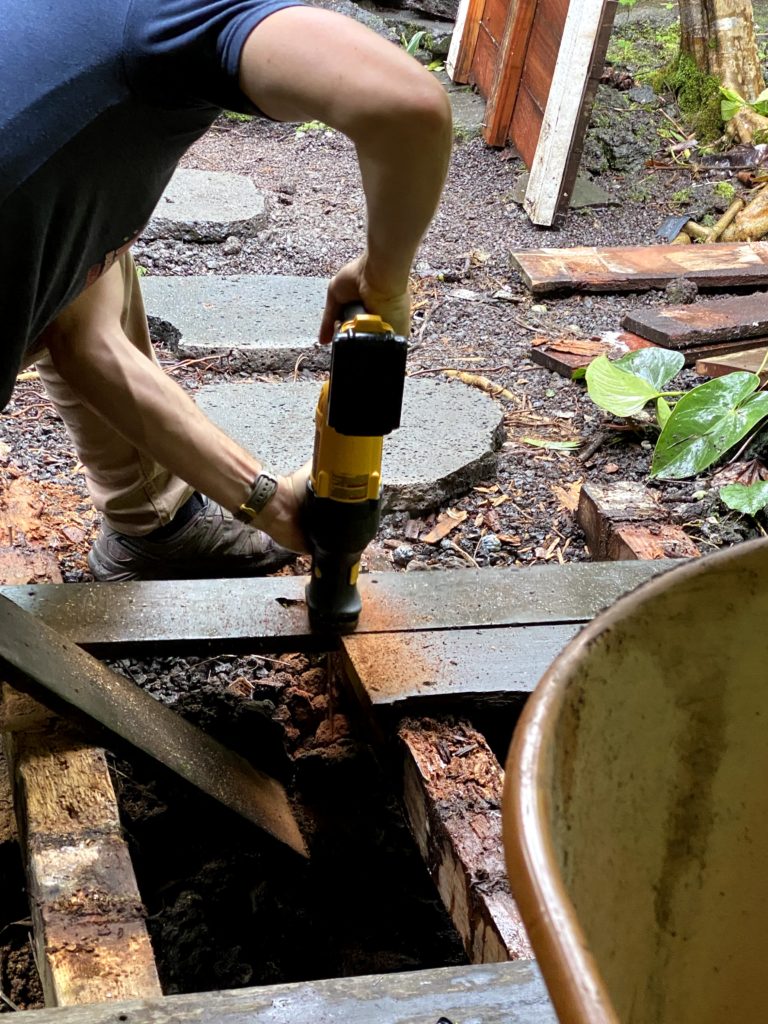
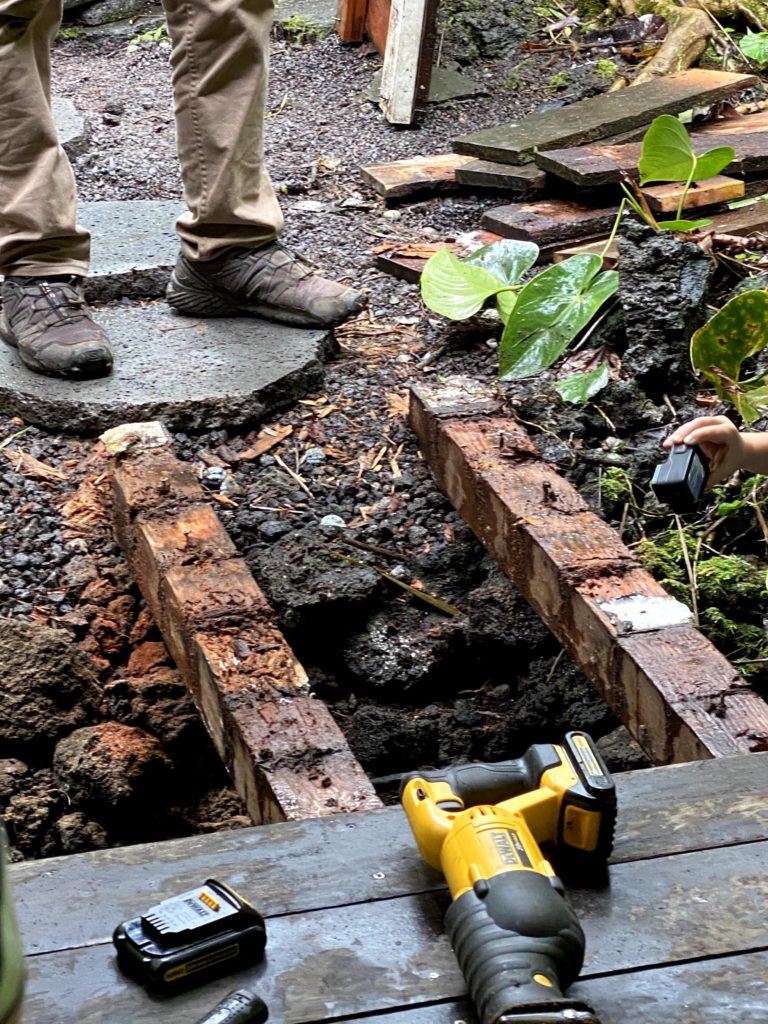
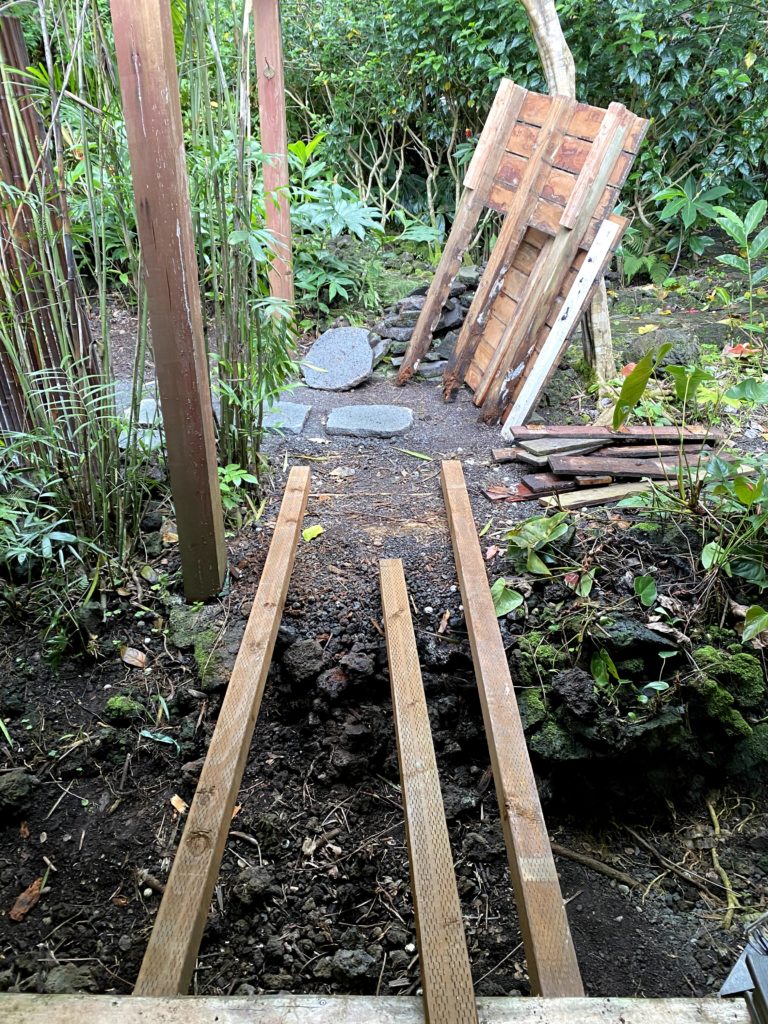
Once we had the shower area all ready to go with the new pavers, we decided that we wanted to redo the bridge that connects the lanai to the outdoor shower area. It was in pretty bad shape, so we decided to rip it out and start fresh.

Installing the Headers
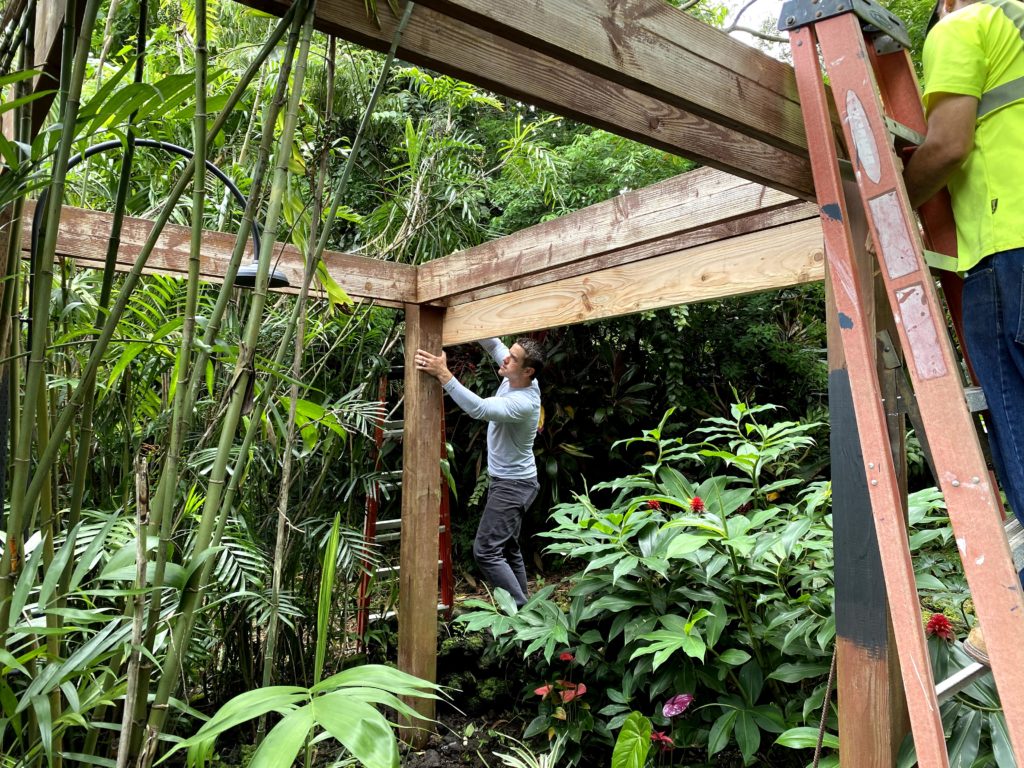
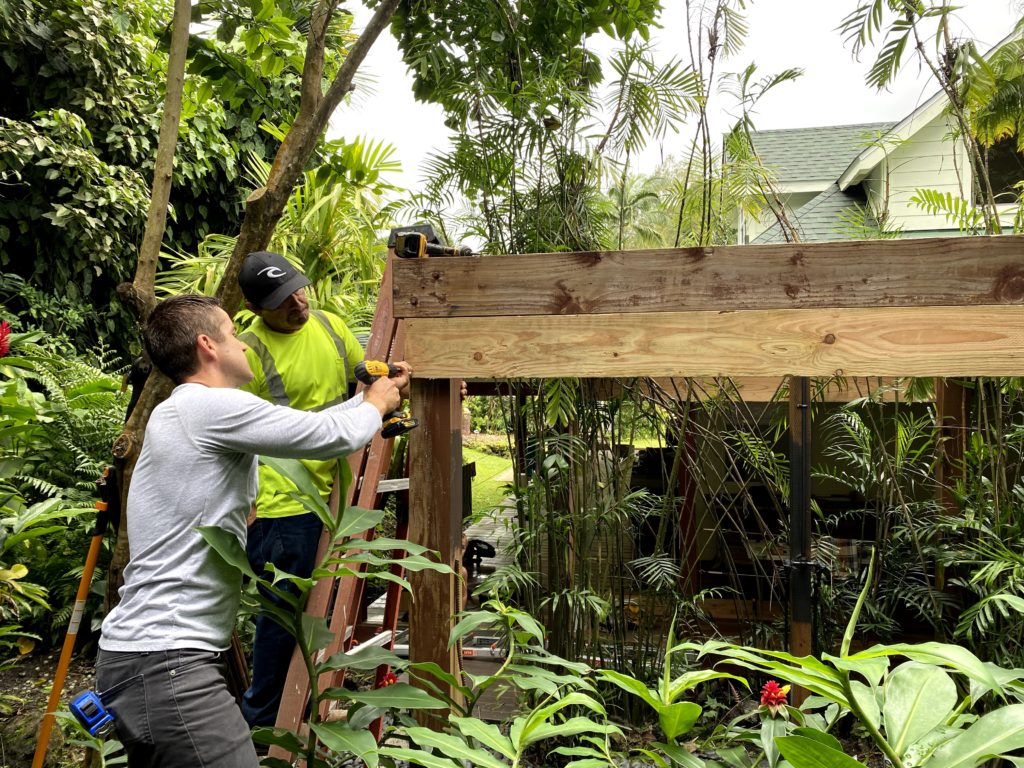
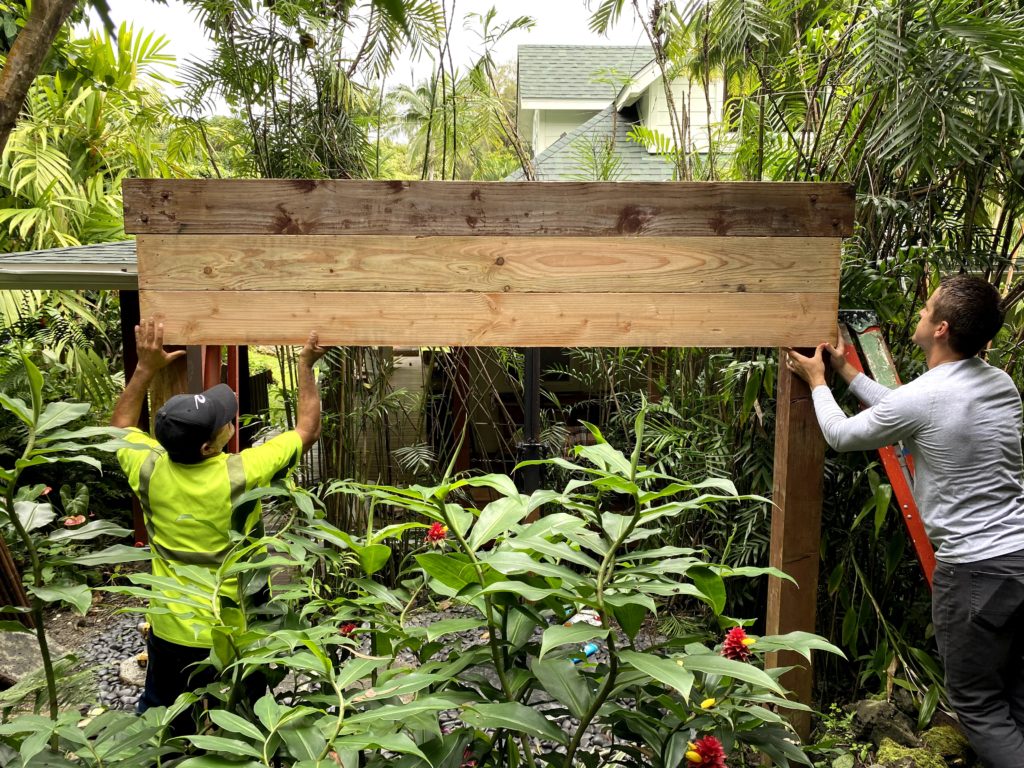
The shower was already enclosed by some posts and beams, but we decided to add a few more for extra privacy. We don’t need anyone peaking from the upstairs window!
Bring on the Paint
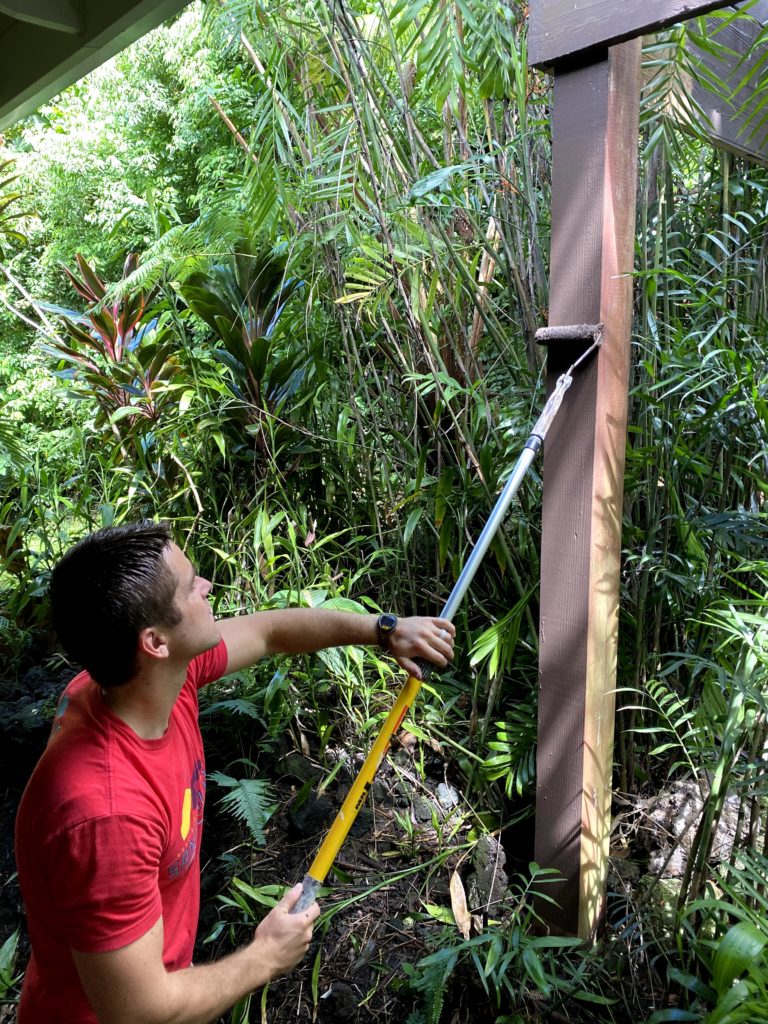
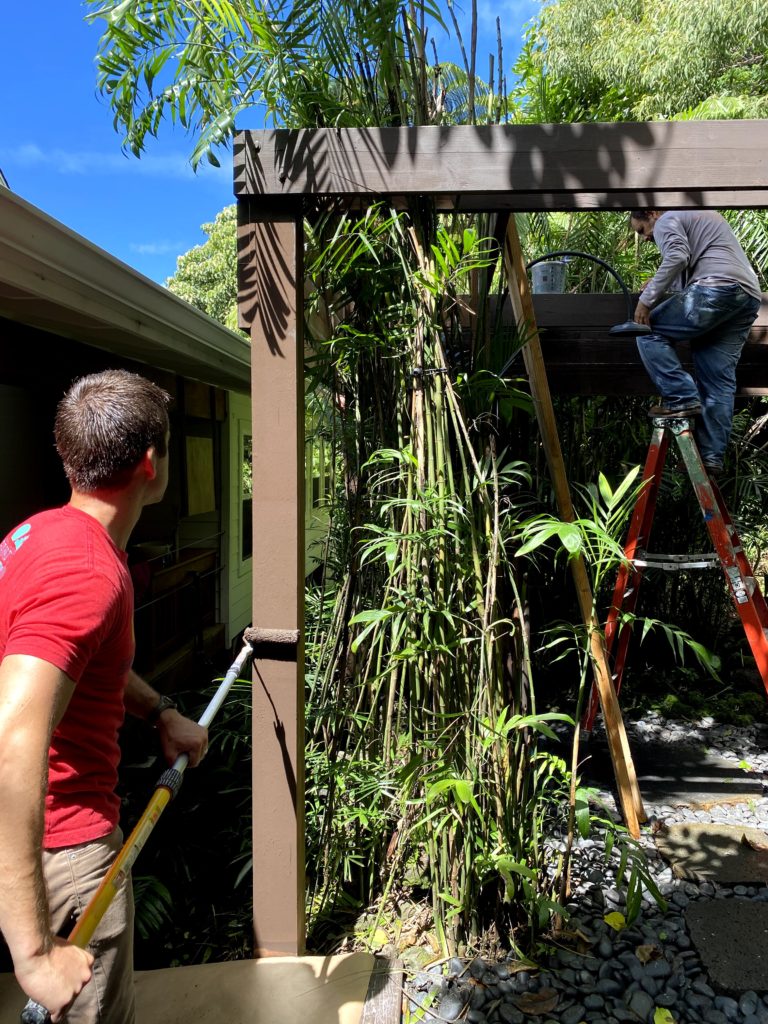
Once all the wood was installed, it was time to paint. We went with BEHR Premium Advanced DeckOver. We wanted something that could hold up to the elements since the outdoor shower is not covered.
Finishing Touches
We were so pumped to get this back up and running. Once all the wood was painted, we decided to spray paint all the plumbing in a matte black. We also added another section of bamboo fencing (similar to this one) to provide additional privacy.
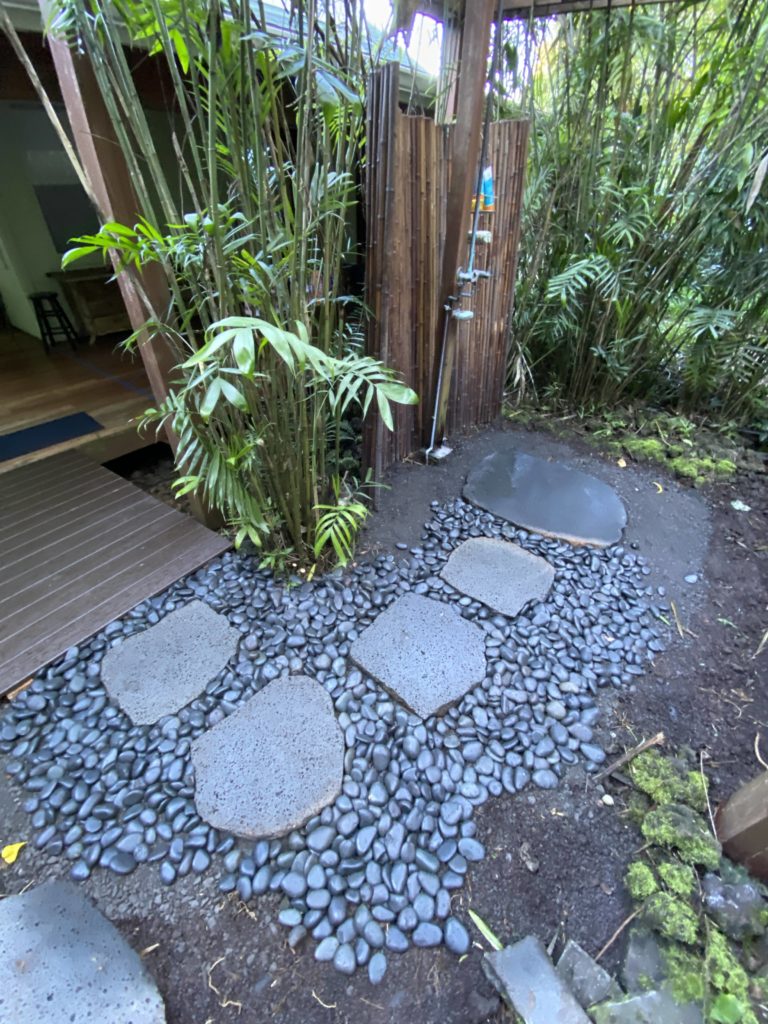
Then we added a layer of black river rock as the ground cover, and voila. It was finished.
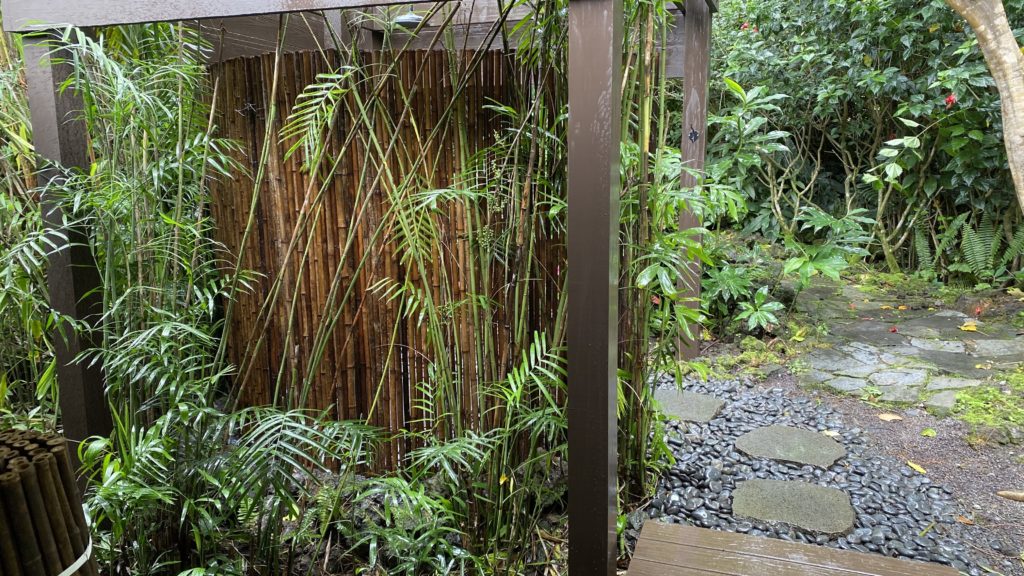
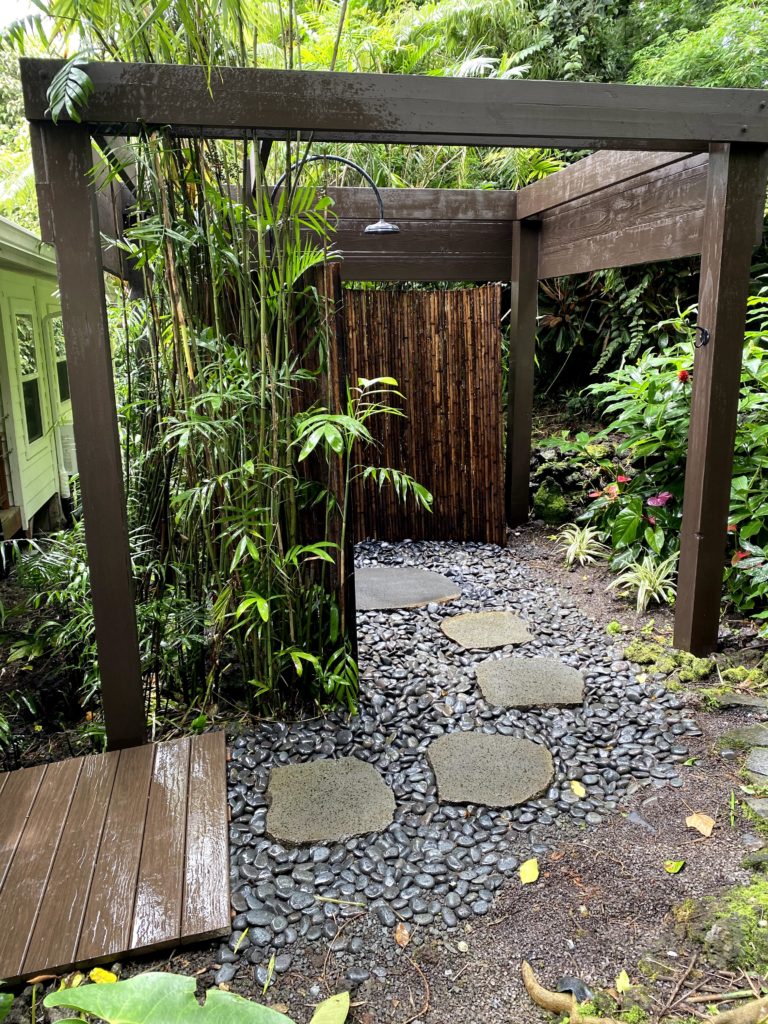
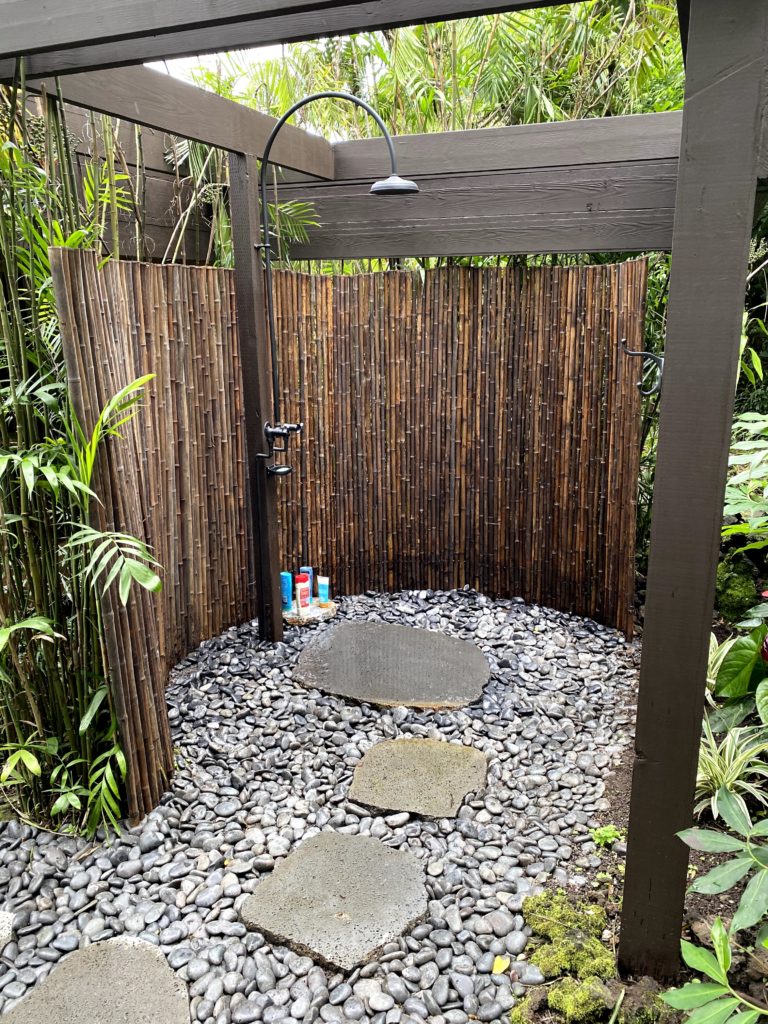
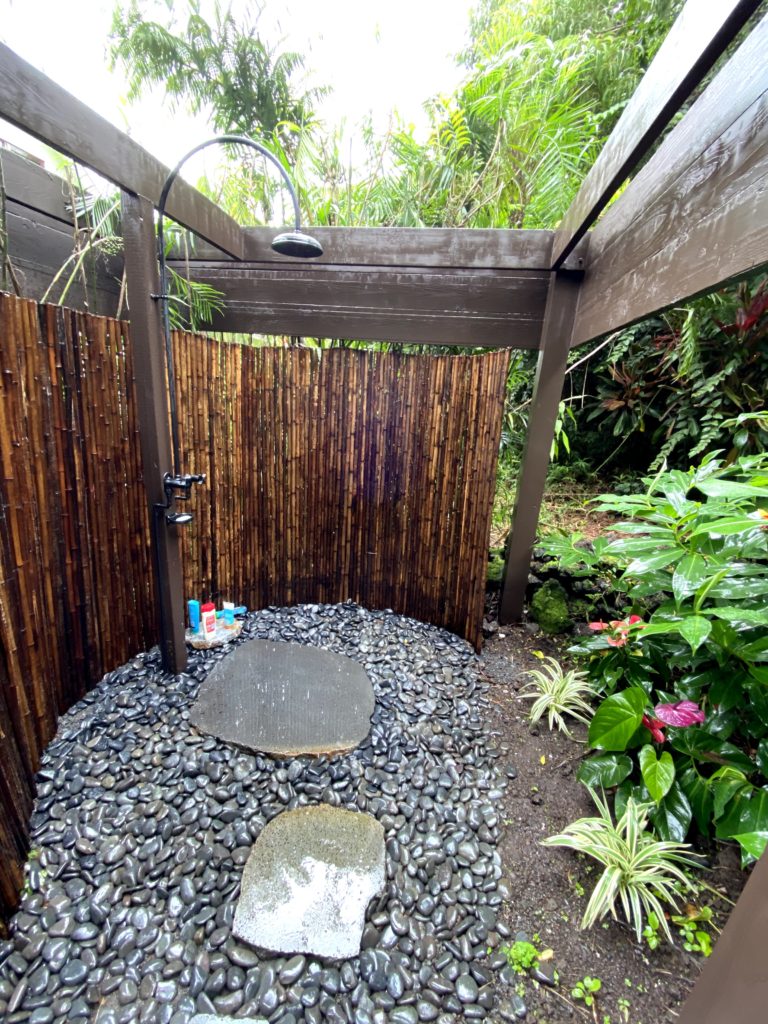
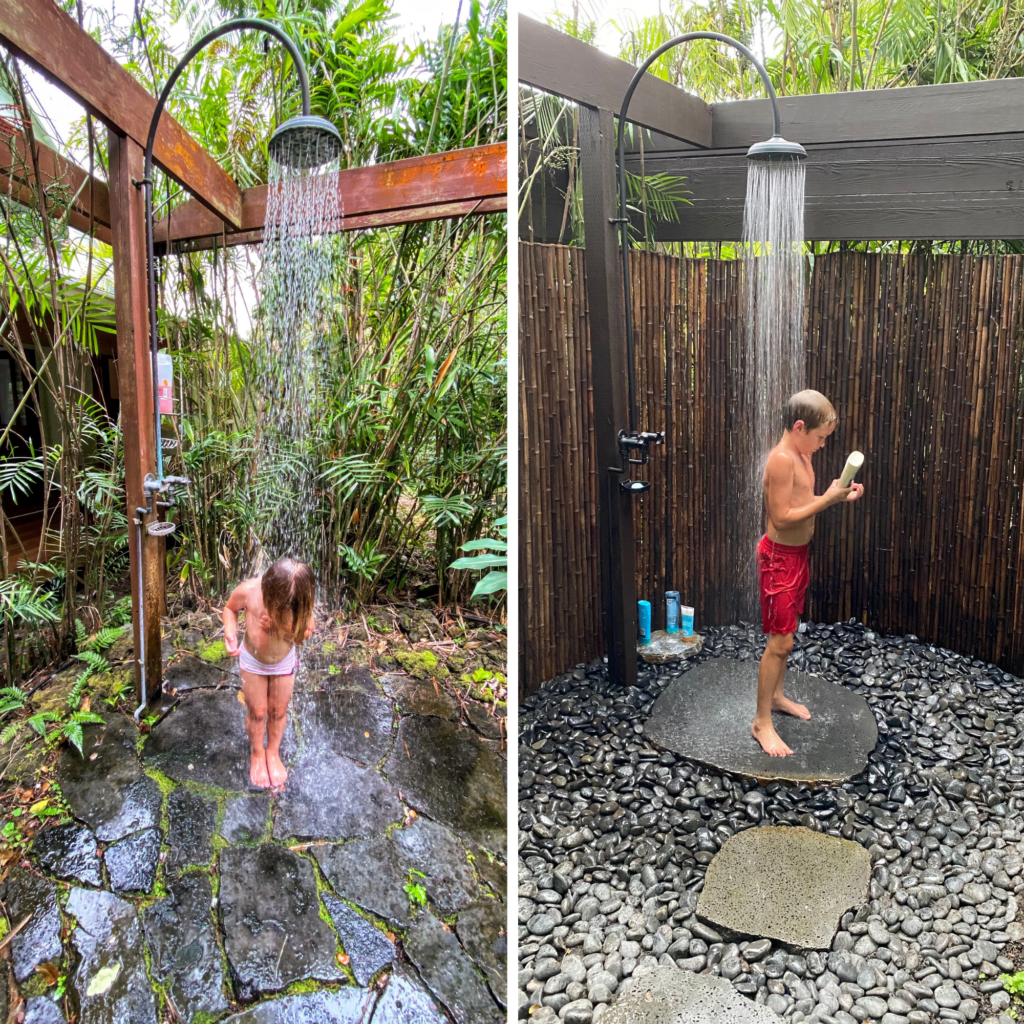
We’re super happy with how it turned out. It was quite the transformation!
If you have questions about this build, message us on Instagram. Or you can email us at therichardsonproject@gmail.com.
On to the next project!
– The Richardsons
